

A guest arrival can expose small villa problems within minutes. A light does not work. The pool looks cloudy. A bedroom AC unit drips. A key is missing. The villa may still be clean, yet the guest starts their stay with a problem that the team could have found earlier.
That is why every property team needs a villa inspection checklist before guest arrival. The checklist gives workers a clear route through the property, helps managers confirm what happened, and makes it easier to report issues before they become guest complaints.
For villa managers in Thailand, arrival inspections matter even more. Heat, rain, gardens, pools, outdoor spaces, AC systems, and quick turnarounds create many moving parts. A simple, repeatable inspection protects the guest experience and gives owners better confidence in the team.
Why a villa inspection checklist matters
An arrival inspection is not another cleaning task. It is the final quality check before guests use the villa. It confirms that the property is safe, presentable, and ready to deliver the experience that the owner and booking promised.
Without a villa inspection checklist, each worker checks different things. One person looks at the bedrooms. Another checks the pool. Nobody confirms outdoor lighting or the Wi-Fi. As a result, the manager may assume the property is ready while an important problem remains hidden.
The checklist also creates accountability. The manager can see who inspected the villa, when they completed the work, which photos they uploaded, and which issues need follow-up. That record helps when an owner asks for an update or when the team needs to review a complaint later.
Start with the outside of the villa
First, inspect the villa from the guest’s point of view. Walk from the entrance to the main outdoor spaces. Look for anything that creates a poor first impression or a safety risk.
- Check the gate, entrance path, parking area, and house number.
- Remove fallen leaves, garden waste, tools, and visible rubbish.
- Test entrance, pathway, pool, and garden lights.
- Check that outdoor furniture looks clean and ready to use.
- Look for standing water, blocked drains, loose tiles, or damaged paths.
- Confirm that the garden looks trimmed and that the main guest-facing areas look neat.
During rainy periods, add a drainage and debris check. The Thai Meteorological Department publishes weather information that can help teams plan extra checks before heavy rain. A short pre-arrival walk can prevent a guest from arriving to wet cushions, blocked pathways, or a messy pool deck.
Check the pool and outdoor living areas
For many villas, the pool is the most visible part of the stay. It needs a dedicated inspection, not a quick glance from the terrace.
Confirm that the water looks clear, the skimmer area is clean, and the pool deck has no leaves or loose equipment. Check loungers, umbrellas, towels, outdoor showers, and visible pool lights. If the villa offers a barbecue, outdoor kitchen, or dining area, make sure it is clean, stocked according to the property standard, and safe to use.
Use the team’s existing pool cleaning checklist before the final inspection. The pool cleaner should report completion, while the arrival inspector confirms that the result is guest-ready. This separates routine maintenance from the final quality check.
Inspect every guest room
Next, walk through bedrooms, bathrooms, and shared indoor spaces in the same order every time. Consistency makes the villa inspection checklist faster and reduces missed details.
Check that beds are made to the required standard. Open and close key lights. Confirm that curtains, blinds, doors, windows, and locks work properly. Look for stains, smells, damaged furniture, or missing items. In bathrooms, check that hot water, taps, toilets, drains, mirrors, towels, and basic supplies meet the property standard.
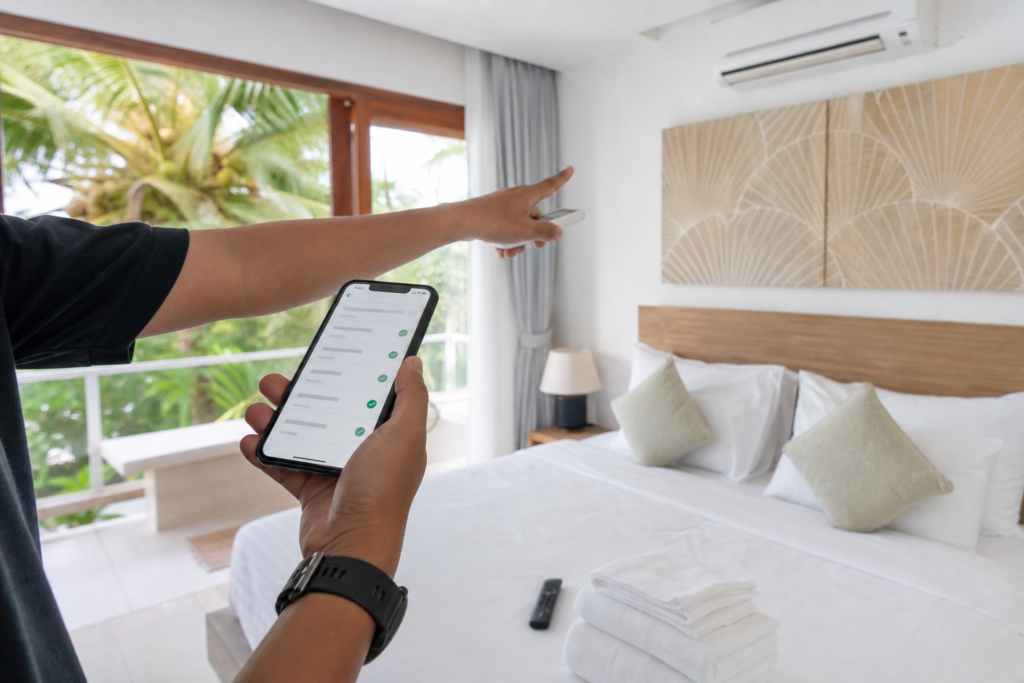
Also test each air-conditioning unit. It should turn on, cool normally, and show no obvious water leak or error message. If an AC unit has a problem, report it immediately instead of hoping a guest will not use that room.
Test essential guest systems
Guests expect essential systems to work when they arrive. A fast test prevents the team from receiving an urgent message after check-in.
- Connect to the guest Wi-Fi or confirm the router is working.
- Test the TV and the main remote controls.
- Check the hot-water system.
- Confirm that water pressure is normal in key bathrooms and kitchen areas.
- Test smoke alarms or other installed safety equipment according to the property’s operating standard.
- Confirm that keys, key cards, remotes, and welcome information are in the right place.
Do not ask workers to remember this list from a chat message. Put the steps into a recurring or arrival-specific task. Then the worker can follow the same process at every villa.
Take photo proof that is useful
Photo proof should make the manager’s job easier. It should not create a large folder of random images.
For a guest-arrival inspection, request a small set of standard photos: the exterior or entrance, the pool, the living area, the main bedroom, and any area that required special work. If the worker finds damage or a problem, they should take close-up photos and add a short description.
This approach gives the manager a clear visual record. It also helps the team show an owner the property condition before guests arrive. When photos stay attached to the correct villa, date, task, and worker, they become useful evidence rather than lost chat attachments.
Separate inspection failures from completed work
A worker may complete the inspection but still find a problem. For example, the pool may be ready but a bedroom AC unit may not cool properly. The team needs a way to record both facts.
First, mark the inspection task complete. Then report the separate issue with its photo, priority, and location. The manager can create a repair job, assign a worker or contractor, and request owner approval if the repair has a cost.
This is a key part of a strong villa maintenance workflow. It stops important repairs from disappearing inside a completed cleaning or arrival task.
Make the checklist repeatable
The best villa inspection checklist is short enough for workers to complete, but detailed enough to protect the guest experience. Keep one standard version for every villa, then add property-specific steps where needed. A villa with a cinema room, lift, water feature, or smart-home system may need additional checks.
Managers should review the checklist after guest complaints or repeated issues. If the same problem appears more than once, add a clearer step, a required photo, or a preventive maintenance task.
Final villa inspection checklist before guest arrival
- Entrance, path, parking, and outdoor areas look clean and safe.
- Garden, drains, and pool deck are clear of debris.
- Pool water and poolside furniture look guest-ready.
- Bedrooms, bathrooms, and shared rooms meet the cleaning standard.
- AC, lights, Wi-Fi, hot water, TVs, and key equipment work.
- Keys, remotes, and guest information are ready.
- Required photos are uploaded.
- Any problem has a separate follow-up job and clear owner.
Conclusion
A villa inspection checklist gives the team one reliable final check before every arrival. It reduces guest complaints, protects owner trust, and makes it easier to find problems while the team still has time to act.
VillaFlow turns the checklist into a visible workflow. Workers receive structured tasks in LINE, upload photo proof, report problems, and mark work complete. Managers see the status in one dashboard instead of chasing updates through messages. Learn more about how VillaFlow works or view the VillaFlow features.